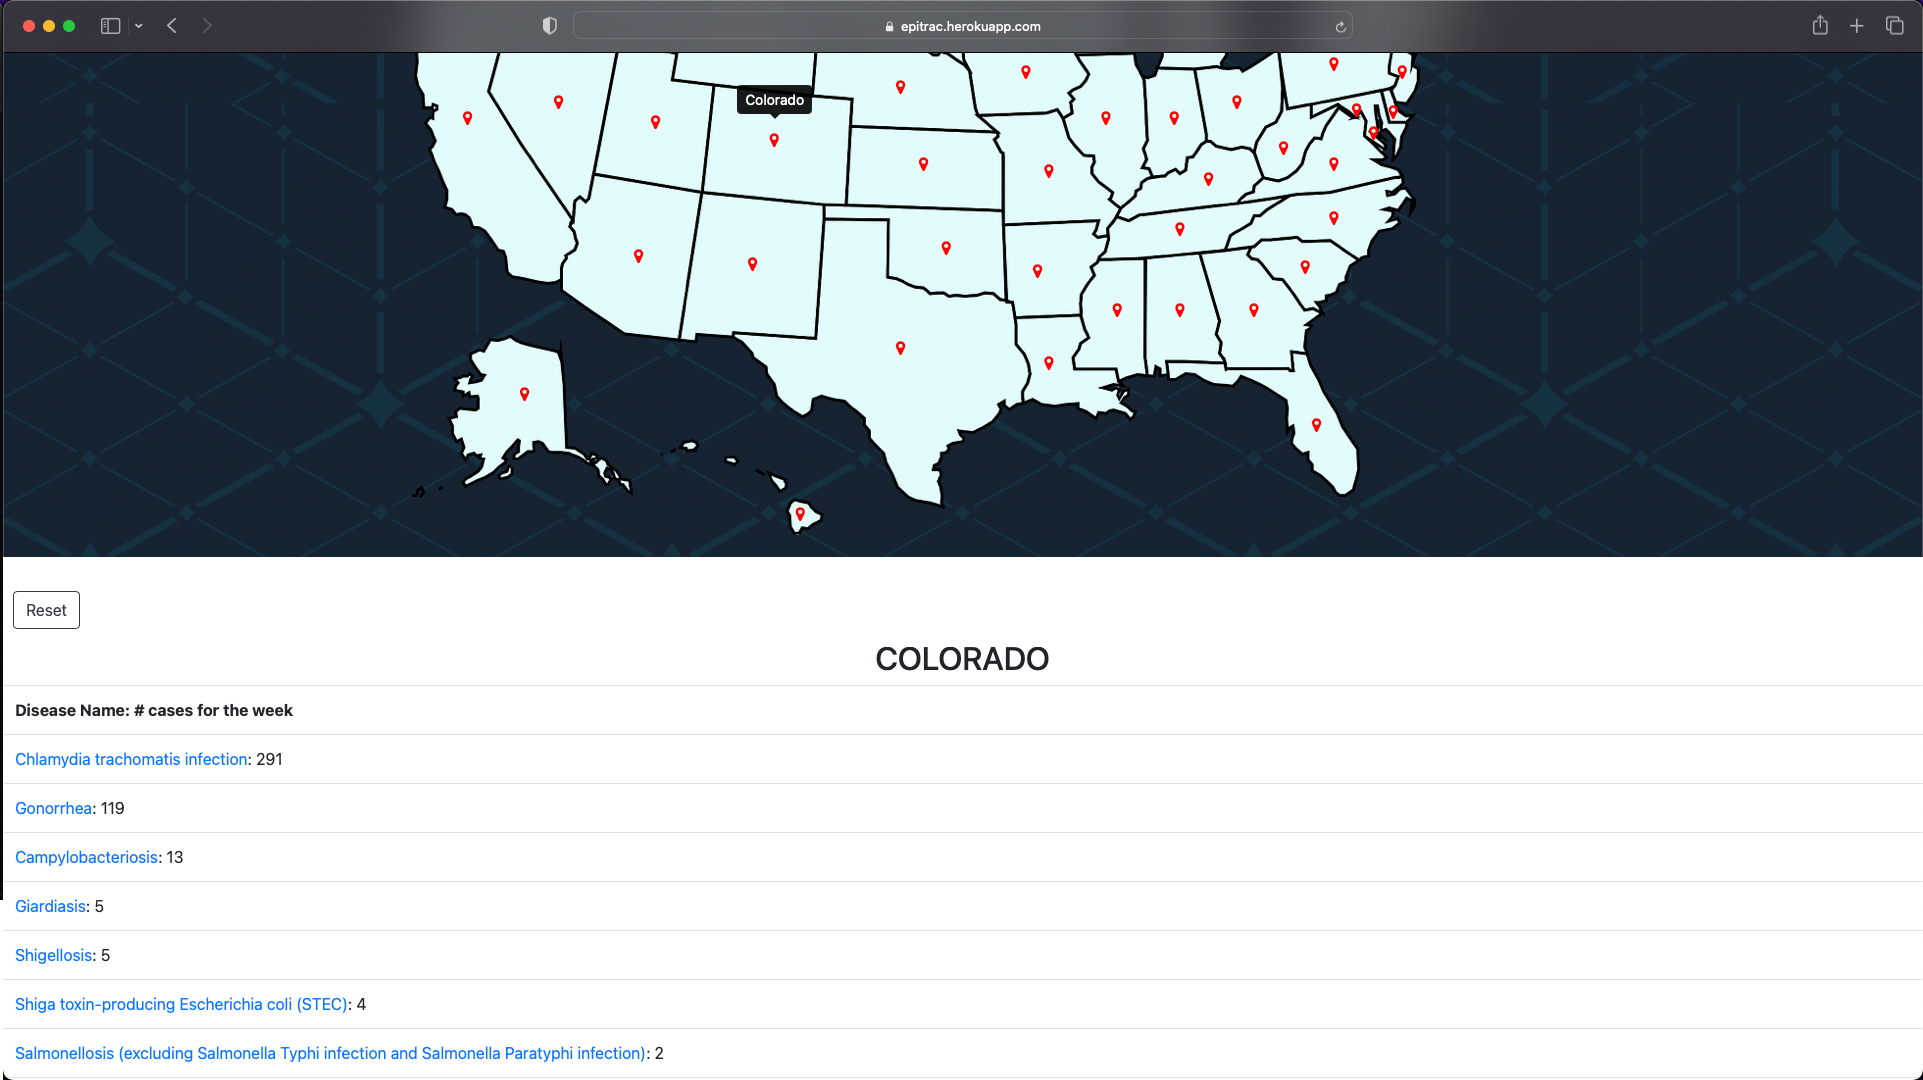
EpiTrac is an application that enables users to access epidemiological data on a user friendly interactive map that displays weekly disease cases for each state. Users can also find information about the disease, articles, and access to more informational resources.
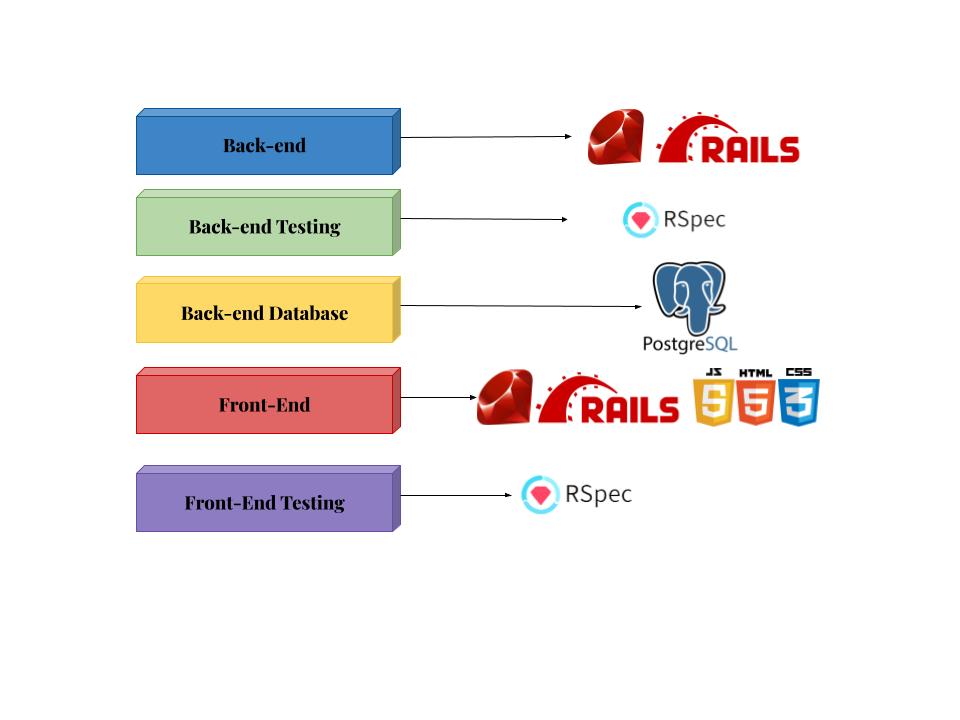
This repo is the front-end part of a project built by students at Turing School of Software and Design. You can find the back-end repo HERE.
You can access the front-end deployed application here.
A demo walk-through of the application features is available HERE and presentation materials HERE.
- Rails 5.2.8
- Ruby 2.7.4
- JavaScript
- Bootstrap 5.3.0
- HTML/CSS
- Design a project from scratch using a student-led idea.
- Use Service-Oriented Architecture with separate front and back end applications.
- Implement Bootstap and JavaScript for app styling and map functionality.
- Authenticate users with an OAuth provider
- Clone the repository
- cd into the root directory
- Install gem packages:
bundle install - Setup the database:
rails db:{create,migrate} - To run local RSpec test suite:
bundle exec rspec - View application locally run
rails serverand navigate to http://localhost:3000
EpiTrac uses Google OAuth 2 to login users. In order to access this feature locally, you must follow the steps below to setup a new Google OAuth project. A client needs a client_id and client_secret from the OAuth provider for their application.
- Open Google API Console Credentials page HERE
- Create a new project or use an existing one
- Select "OAuth Consent Screen"
- Enter your application name, email, and either a deployed link or for local development: http://localhost:3000
- Select scopes desired (we used only non-sensitive scopes) & submit
- For the Authorized Redirect URIs, select "Credentials" in the menu bar and choose your project. Enter the following URL for local development: http://localhost:3000/auth/google_oauth2/callback
- Click Save/Create
- Navigate to the EpiTrac front-end in terminal
cd epitrac_fe - While in terminal run
bundle exec figaro install(this will create a file to make environment variables) - In the
config/application.ymlenter your client_id and client_secret provided by Google as shown below.
    GOOGLE_CLIENT_ID: YOUR_CLIENT_ID
GOOGLE_CLIENT_SECRET: YOUR_CLIENT_SECRET- You are ready to use Google OAuth 2!
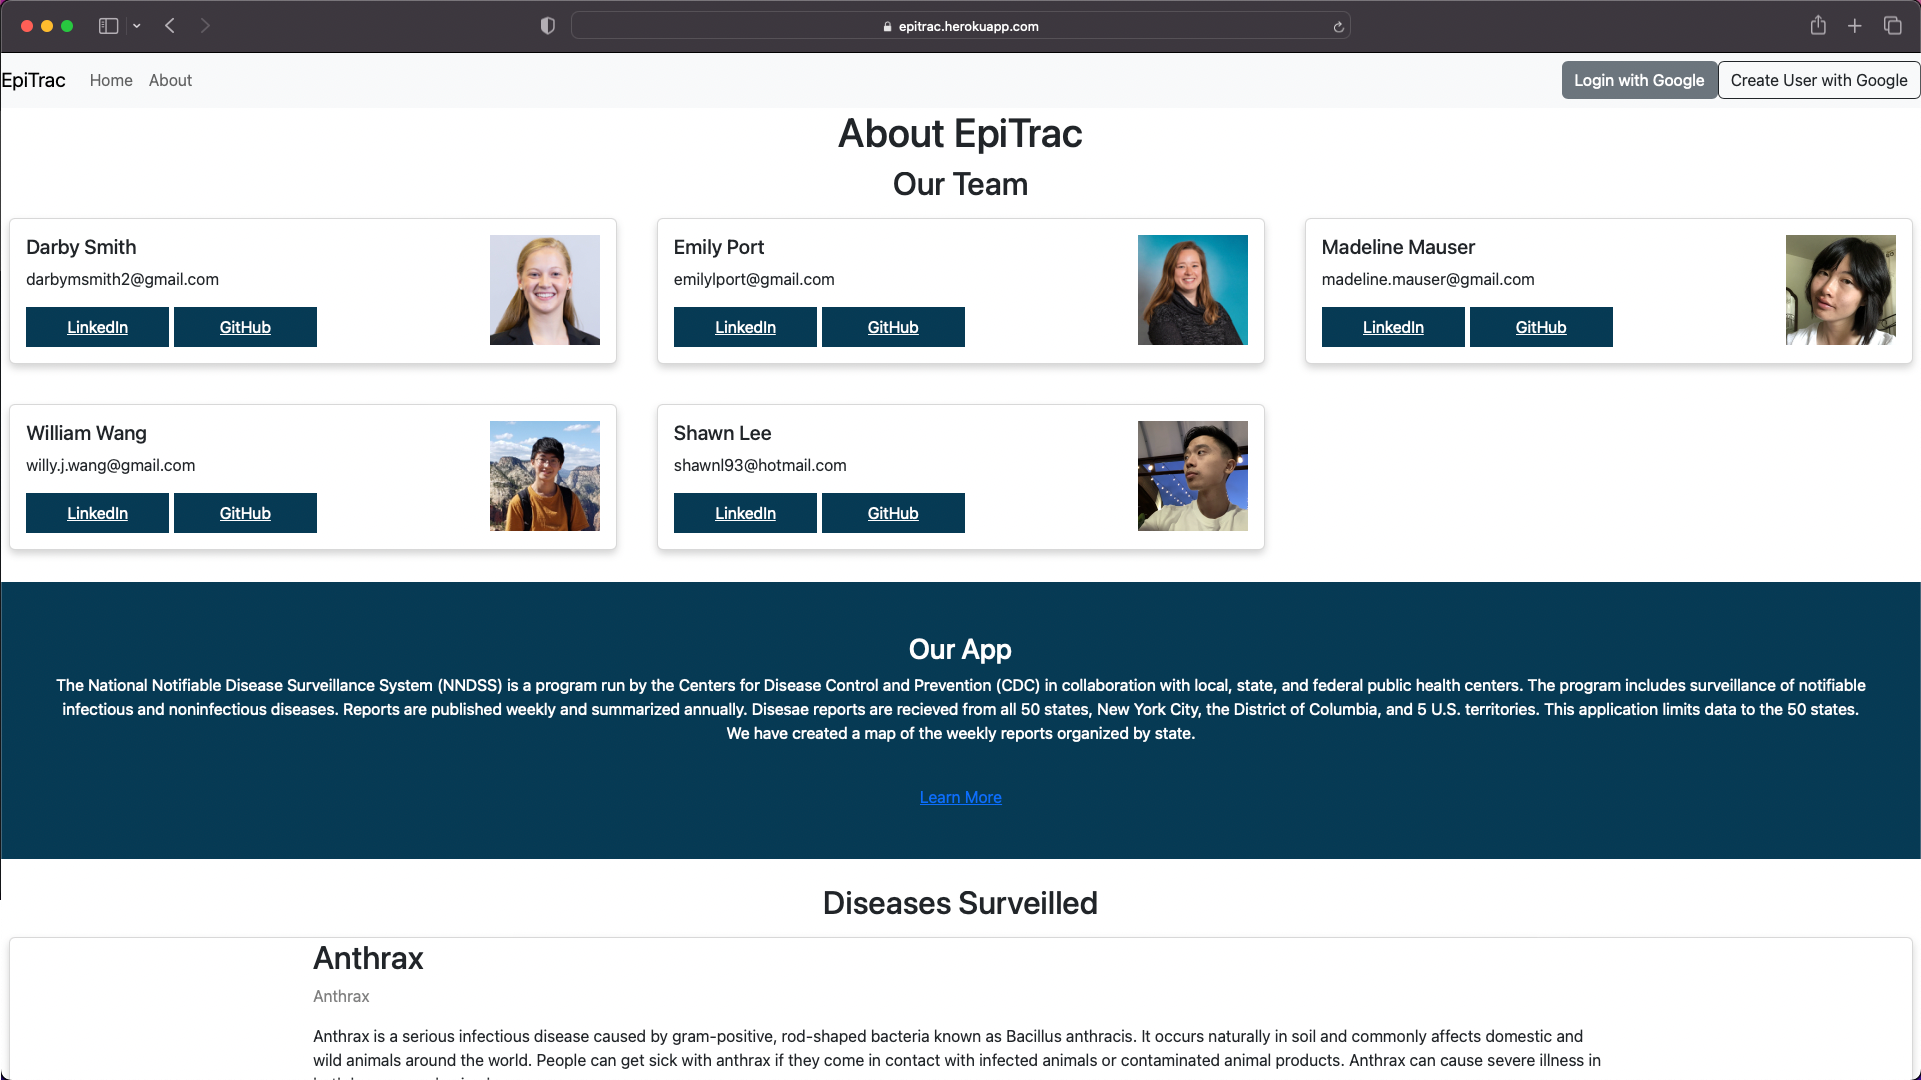
| Shawn Lee | Madeline Mauser | Emily Port | Darby Smith | William Wang |
|
GitHub |
GitHub |
GitHub |
GitHub |
GitHub |
- Pry
- RSpec
- Capybara
- SimpleCov
- Shoulda-Matchers
- Webmock
- VCR
- Faraday
- Faker
- Factory Bot
- OmniAuth Google OAuth2
- Home page
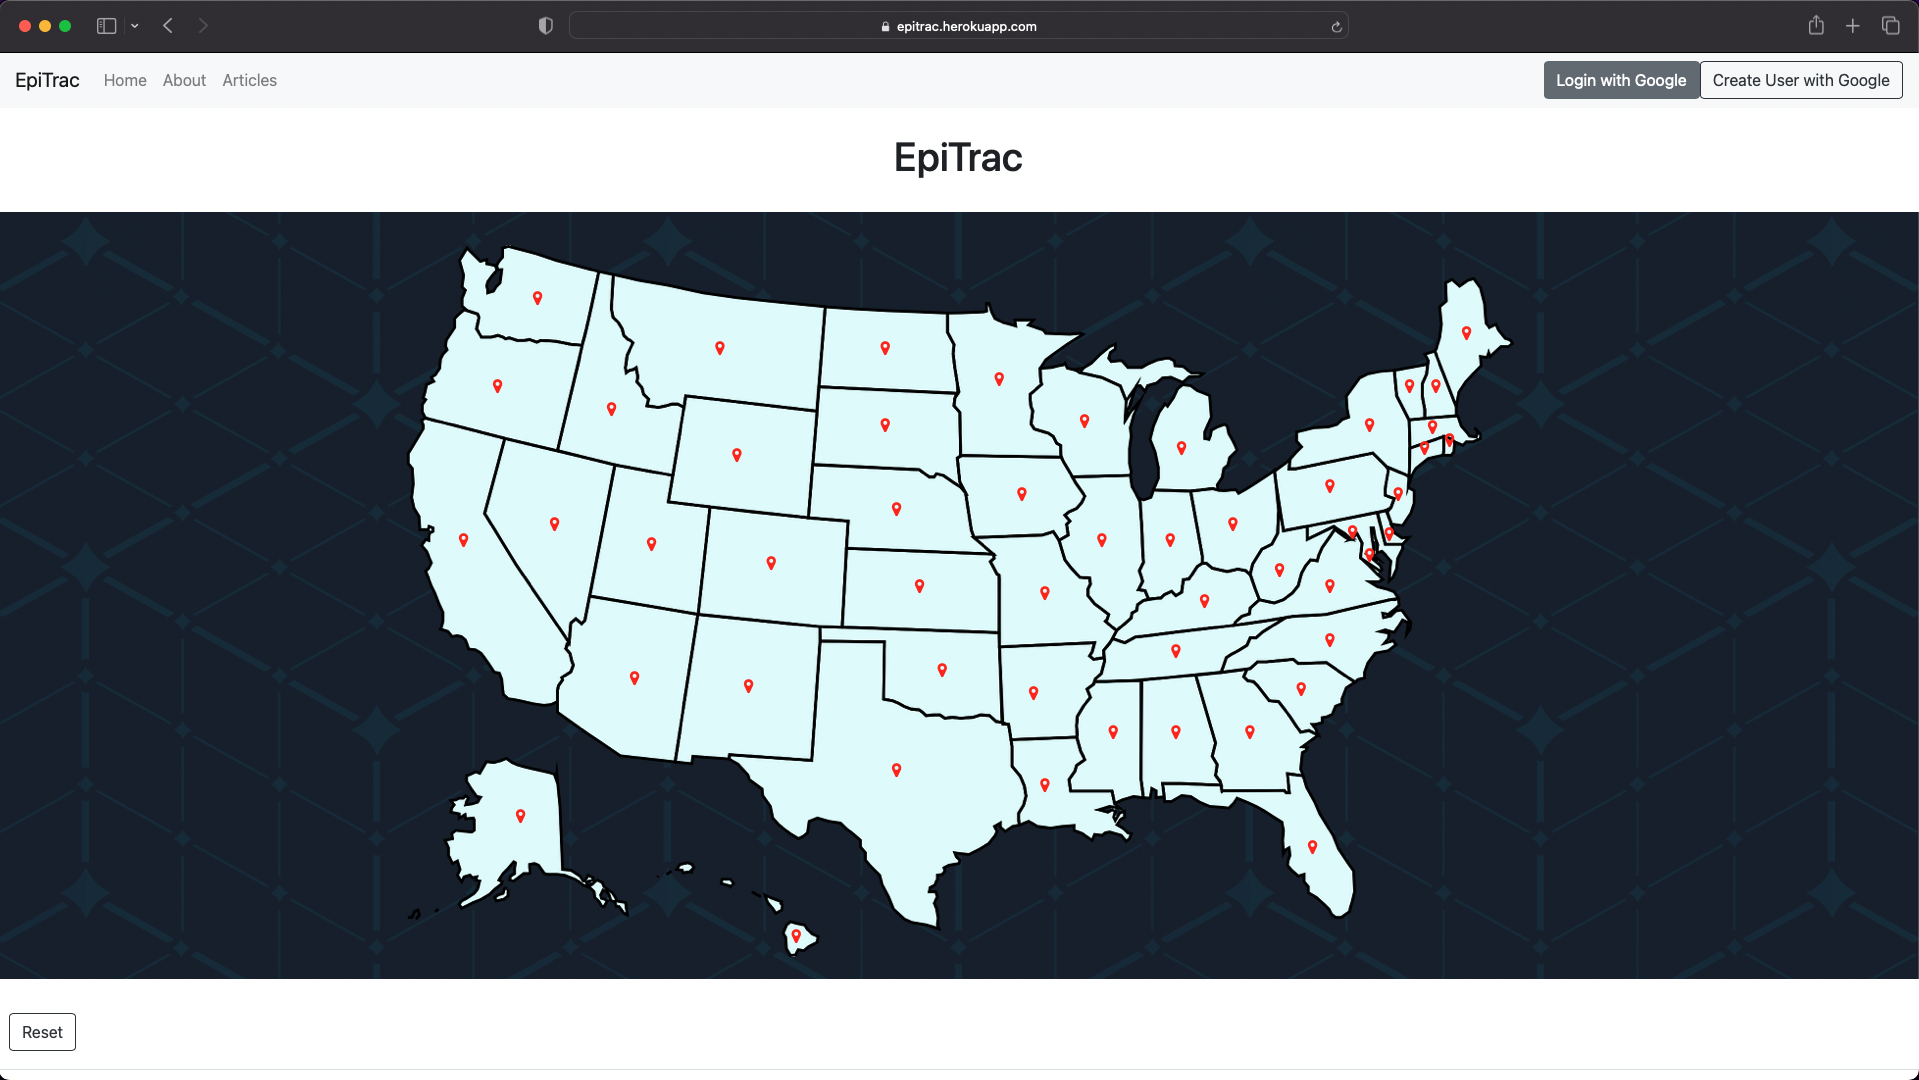
- Clicking on a pin reveals case data for that state
- Diseases link to the about section for that disease
- The about page contains information about the creator, application, and diseases
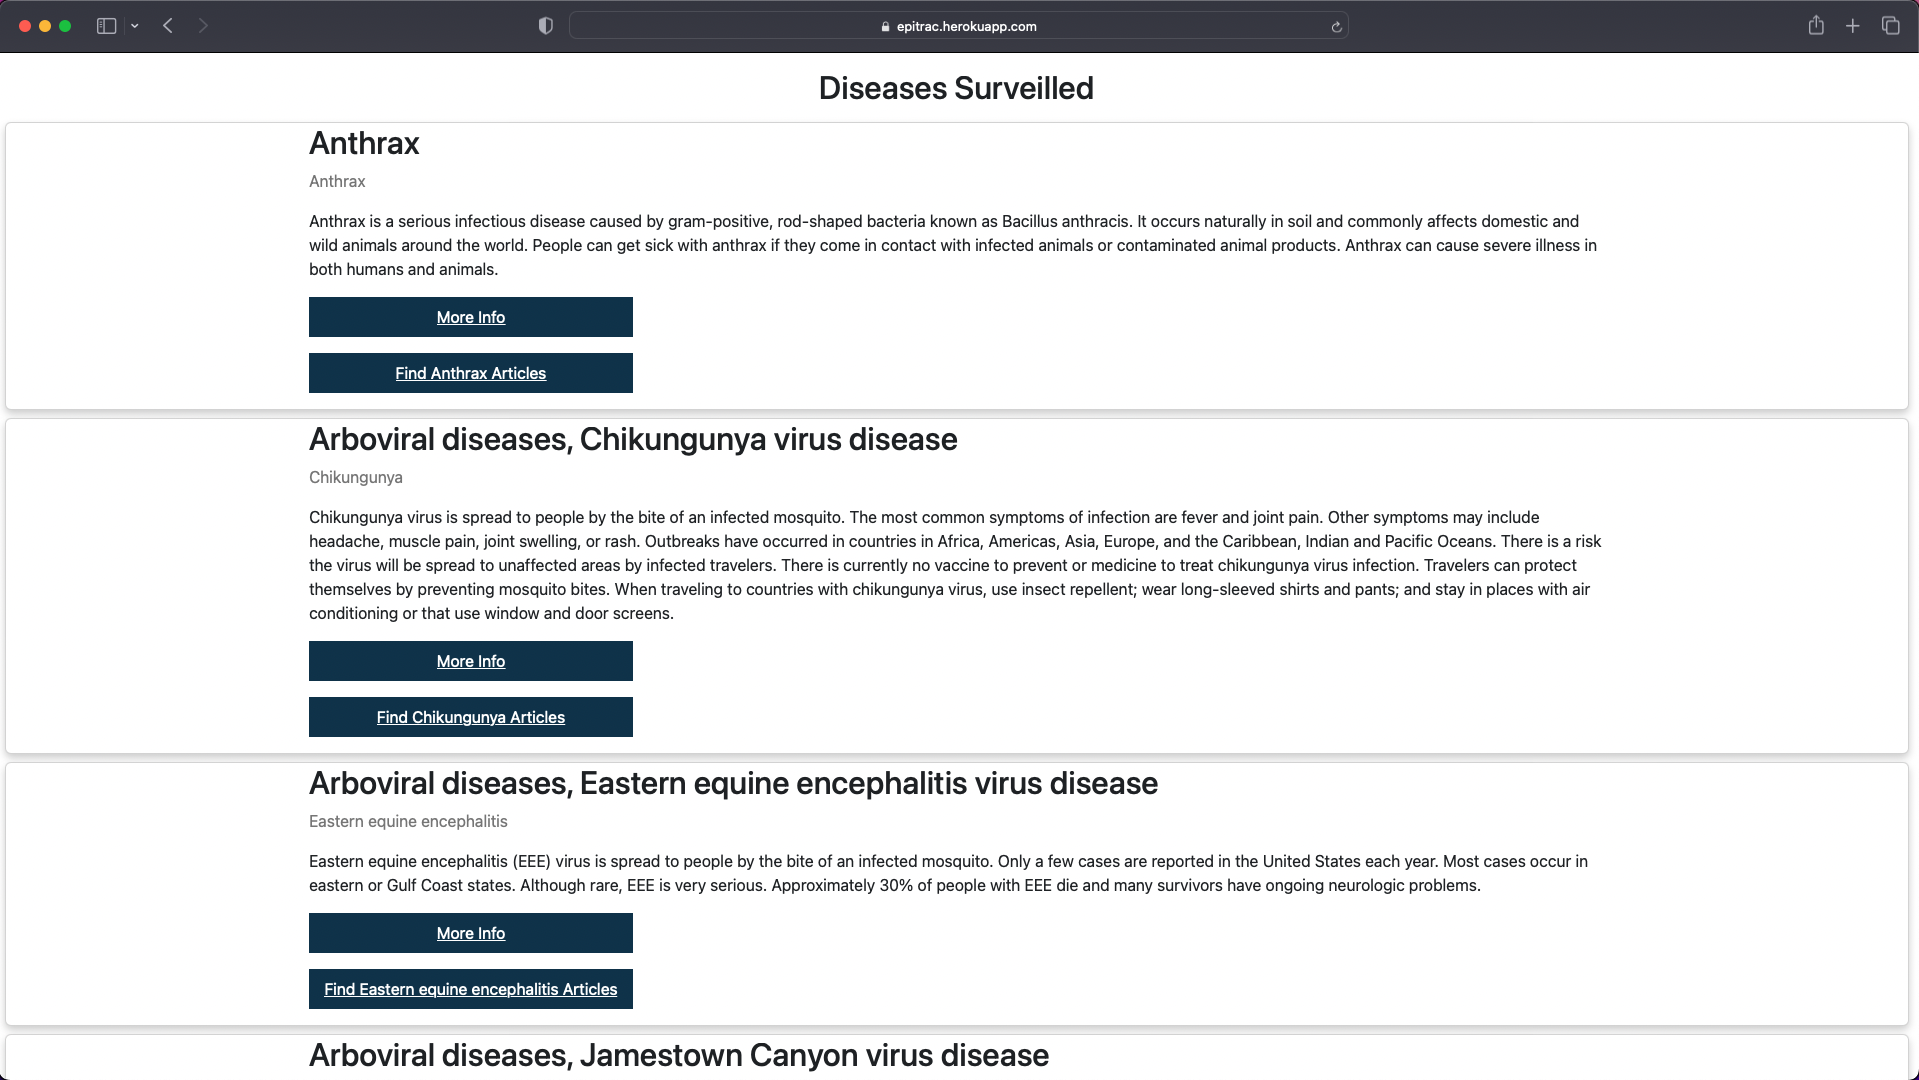
- The about page contains a section for disease surveilled
- Users can find articles for that specific disease by clicking "Find articles for "
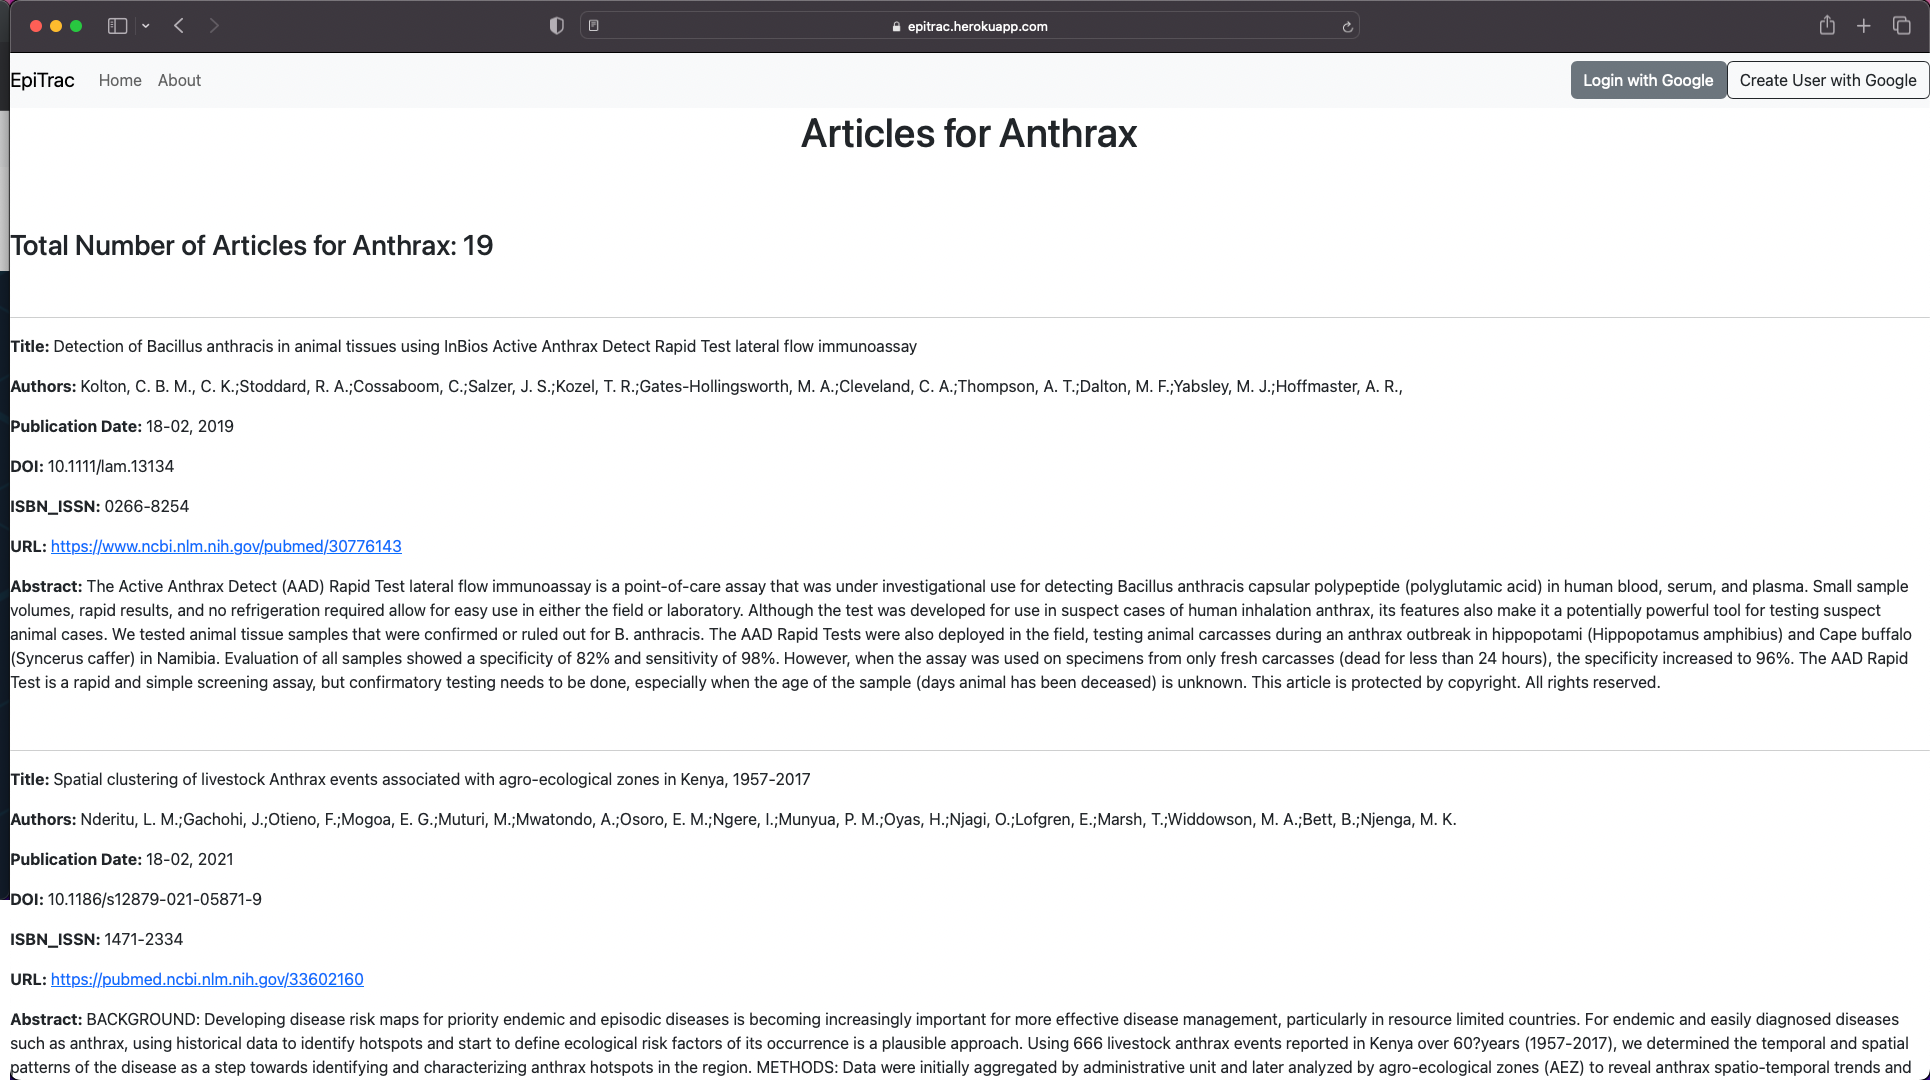
- The articles page displays many articles relating to the disease topic
- If a user is logged in, there is a feature to save articles to their dashboard
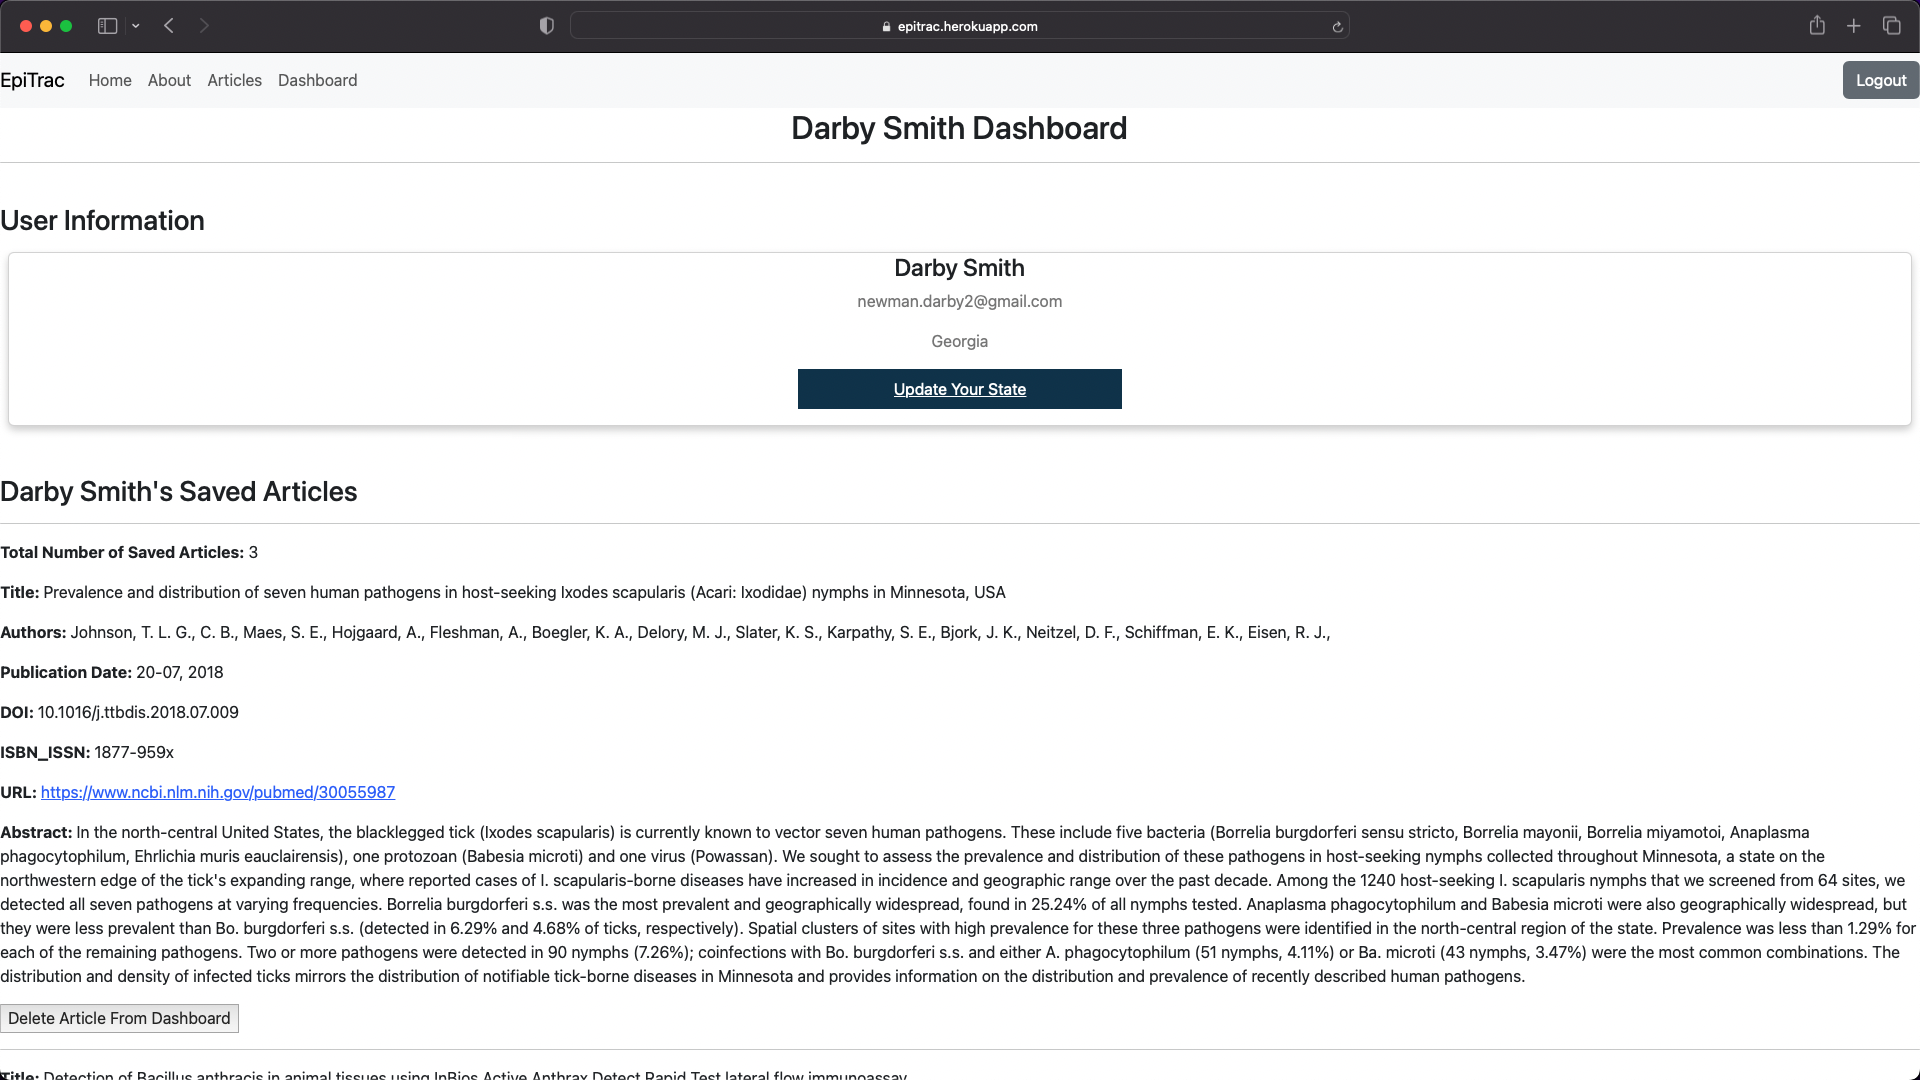
- The users dashboard contains information about the user, including state. When a user is logged in and has selected their home state, the home page will automatically populate with case data for thier state
- The user has access to all the articles they saved and can delete articles on their dashboard
Future features could include:
- Deleting all articles from the user dashboard
- Enhanced testing
- Advanced filtering options