A simple and powerful Python client for the Notion API. This project automates creating new pages in a Notion database, populating page properties, and uploading images as page content. It's designed to easily record and manage structured data in Notion, such as machine learning experiment results or data analysis reports.
- Easy Page Creation: Populate complex database properties and create a new page with a single Python dictionary.
- Dynamic Property Recognition: Automatically analyzes the database structure to support various property types, including
select,status,date,rich_text,title, andnumber. - Content Block Uploads: After creating a page, you can add local image files as content blocks within the page body.
- Multi-File Upload: Supports uploading a single image or a list of multiple images at once.
- Utility Function: Provides a helper function to easily convert dates into the specific format required by the Notion API.
- Python 3: Install from the official Python website.
- requests Library: Install it by running the following command in your terminal:
pip install requests
- Notion API Key:
- Go to Notion Integrations and create a new 'Internal Integration'.
- Copy the "Internal Integration Secret" key. This will be your
notion_key.
- Database ID:
- Open the target Notion database as a full page.
- From the browser's URL (
https://www.notion.so/your-workspace/DATABASE_ID?v=...), copy theDATABASE_IDpart.
- Connect the Integration:
- In your database, click the
•••menu in the top-right corner. - Go to
+ Add connectionsand select the integration you created to grant it access.
- In your database, click the
Assuming the project folder is named notion_client_py, you can import the NotionClient class.
from notion_client_py import NotionClient

DATABASE_ID = "<Your Database ID>"
NOTION_KEY = "<Your Notion API Secret Key>"

# Create a client instance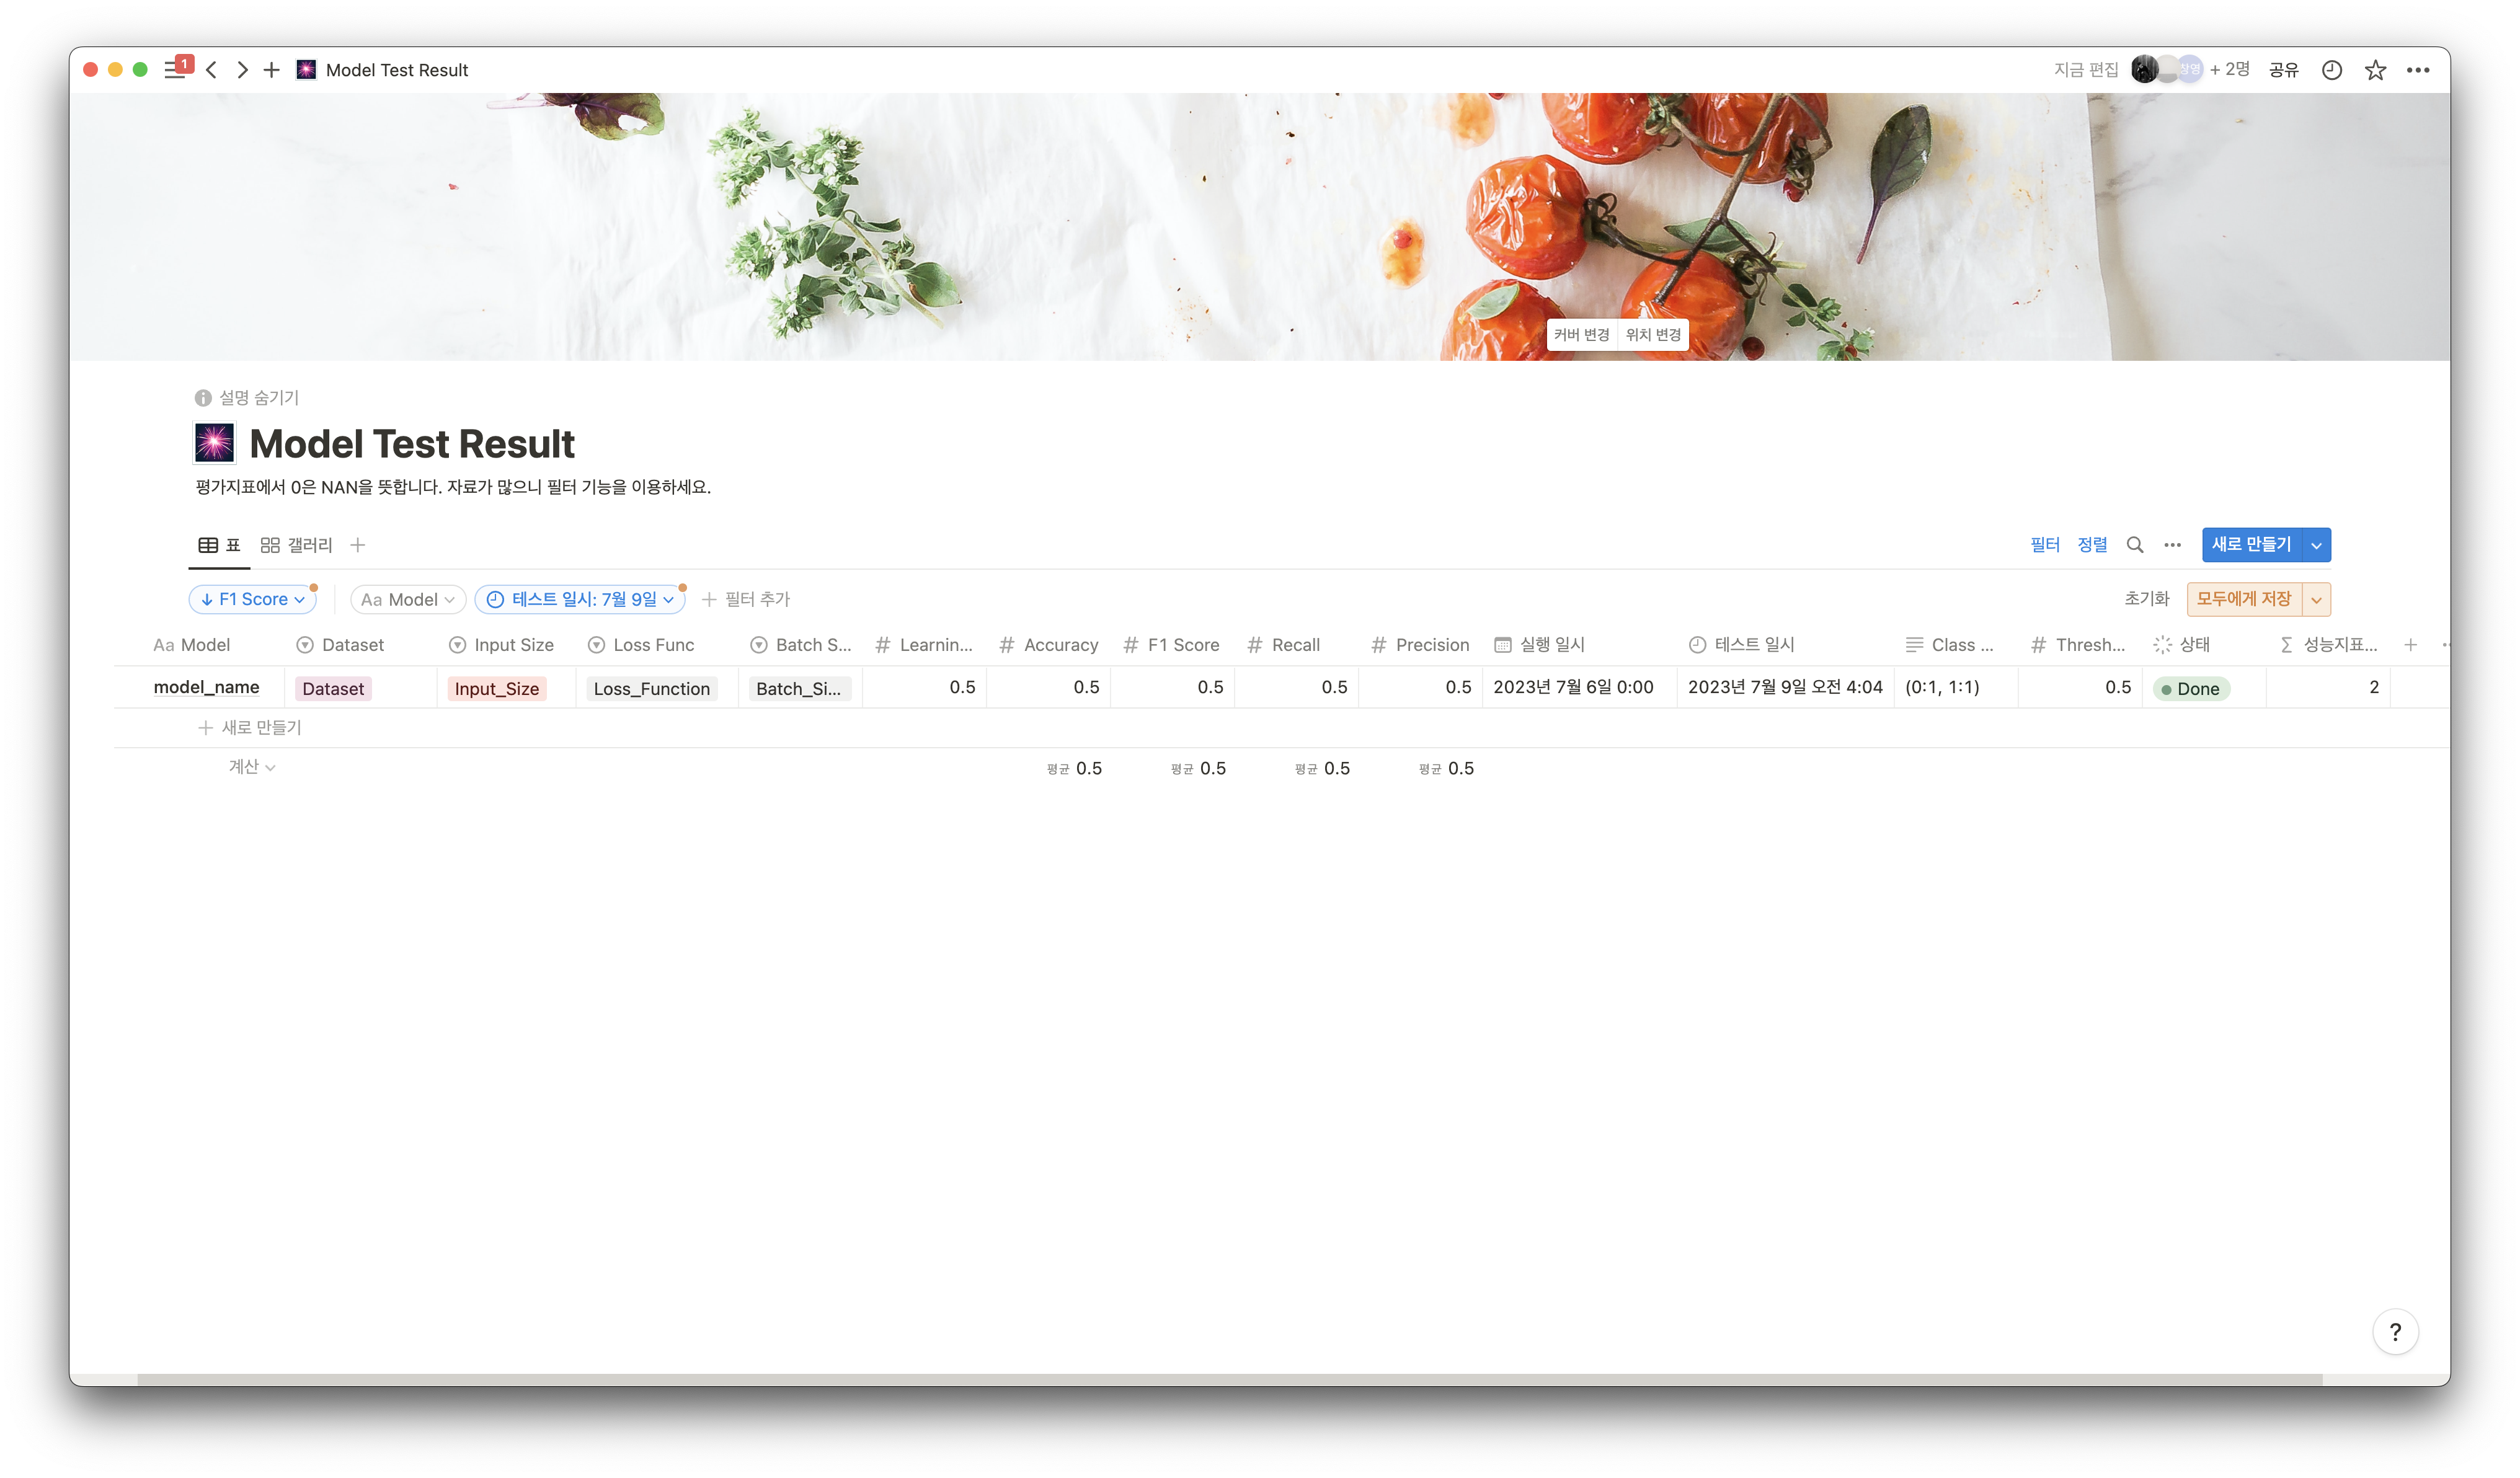
notion_client = NotionClient(DATABASE_ID, NOTION_KEY)You can use the print_property_dict() method to display the names and types of your database's properties. Use this information to structure your data dictionary.
Note: To retrieve property information, the database must contain at least one page.
notion_client.print_property_dict()Example Output:
{
 'Accuracy': 'number',
 'Batch Size': 'select',
 'Dataset': 'select',
 'F1 Score': 'number',
 'Model': 'title',
 'Status': 'status',
 'Execution Date': 'date',
 'Test Date': 'created_time'
}Prepare the data for the page properties as a Python dictionary. The dictionary keys must exactly match the property names in your Notion database.
# Convert date to the format required by the Notion API
execution_date = notion_client.transform_date("20250918153000") # "YYYYMMDDHHMMSS"

# Data for the page properties
page_data = {
    "Model": "EfficientNetB0 - Final Test",
    "Dataset": "Custom Dataset v2",
    "Input Size": "224",
    "Batch Size": "32",
    "Learning Rate": 0.001,
    "Accuracy": 0.935,
    "F1 Score": 0.928,
    "Memo": "Final model evaluation with the latest dataset.",
    "Status": "Done",
    "Execution Date": execution_date,
}Use the create_page() method to upload the data. To add images as content to the page, pass a file path to the image_file_path argument.
Example 1: Create a Page Only
notion_client.create_page(page_data)Example 2: Create a Page + Upload a Single Image
notion_client.create_page(
    page_data,
    image_file_path="/path/to/your/result_graph.png"
)
Example 3: Create a Page + Upload Multiple Images
By passing a list of file paths to image_file_path, you can add multiple images to the page in sequence.
image_files = [
    "/path/to/confusion_matrix.png",
    "/path/to/roc_curve.png",
    "/path/to/precision_recall_curve.png"
]

notion_client.create_page(page_data, image_file_path=image_files)This project is licensed under the MIT License.
Notion API를 위한 간단하고 강력한 Python 클라이언트입니다. 이 프로젝트는 Notion 데이터베이스에 새로운 페이지를 생성하고, 페이지 속성 값을 채우며, 페이지 콘텐츠로 이미지를 업로드하는 작업을 자동화합니다. 머신러닝 실험 결과나 데이터 분석 리포트와 같이 정형화된 데이터를 Notion에 손쉽게 기록하고 관리할 수 있습니다.
- 간편한 페이지 생성: Python 딕셔너리 하나로 데이터베이스의 복잡한 속성을 손쉽게 채우고 새 페이지를 생성합니다.
- 동적 속성 인식: 데이터베이스 구조를 자동으로 분석하여
select,status,date,rich_text,title,number등 다양한 속성 타입을 지원합니다. - 콘텐츠 블록 추가: 페이지 생성 후, 페이지 내부에 로컬 이미지 파일을 콘텐츠 블록으로 추가할 수 있습니다.
- 다중 파일 업로드: 단일 이미지는 물론, 여러 개의 이미지를 리스트 형태로 전달하여 한 번에 업로드할 수 있습니다.
- 유틸리티 함수: Notion API가 요구하는 복잡한 날짜 형식을 간단하게 변환하는 헬퍼 함수를 제공합니다.
- Python 3: Python 공식 웹사이트에서 설치합니다.
- requests 라이브러리: 터미널에서 아래 명령어를 실행하여 설치합니다.
pip install requests
- Notion API 키 발급:
- Notion Integrations에서 새로운 'Internal Integration'을 생성하고 "Internal Integration Secret" 키를 복사합니다. 이것이
notion_key가 됩니다.
- Notion Integrations에서 새로운 'Internal Integration'을 생성하고 "Internal Integration Secret" 키를 복사합니다. 이것이
- 데이터베이스 ID 확인:
- 데이터를 추가할 Notion 데이터베이스를 전체 페이지로 엽니다.
- 브라우저 주소창의 URL
https://www.notion.so/your-workspace/DATABASE_ID?v=...에서DATABASE_ID부분을 복사합니다.
- Integration 연결:
- 데이터베이스 우측 상단의
•••메뉴를 클릭하여+ Add connections에서 생성한 Integration을 검색하고 선택하여 데이터베이스 접근 권한을 부여합니다.
- 데이터베이스 우측 상단의
프로젝트 폴더 이름이 notion_client_py라고 가정하고, NotionClient 클래스를 임포트합니다.
from notion_client_py import NotionClient

DATABASE_ID = "<여러분의 데이터베이스 ID>"
NOTION_KEY = "<여러분의 노션 API 시크릿 키>"

# 클라이언트 인스턴스 생성
notion_client = NotionClient(DATABASE_ID, NOTION_KEY)print_property_dict() 메서드를 사용하면 현재 데이터베이스의 속성 이름과 타입을 출력할 수 있습니다. 이 정보를 참고하여 업로드할 데이터 딕셔너리를 구성하세요.
주의: 속성 정보를 가져오려면 데이터베이스에 최소 한 개 이상의 페이지가 존재해야 합니다.
notion_client.print_property_dict()출력 예시:
{
 'Accuracy': 'number',
 'Batch Size': 'select',
 'Dataset': 'select',
 'F1 Score': 'number',
 'Model': 'title',
 '상태': 'status',
 '실행 일시': 'date',
 '테스트 일시': 'created_time'
}페이지 속성에 채워 넣을 데이터를 Python 딕셔너리 형태로 준비합니다. 딕셔너리의 key는 Notion 데이터베이스의 속성 이름과 정확히 일치해야 합니다.
# Notion API 형식에 맞게 날짜 변환
execution_date = notion_client.transform_date("20250918153000") # "YYYYMMDDHHMMSS"

# 페이지 속성에 들어갈 데이터
page_data = {
    "Model": "EfficientNetB0 - Final Test",
    "Dataset": "Custom Dataset v2",
    "Input Size": "224",
    "Batch Size": "32",
    "Learning Rate": 0.001,
    "Accuracy": 0.935,
    "F1 Score": 0.928,
    "Memo": "Final model evaluation with the latest dataset.",
    "상태": "Done",
    "실행 일시": execution_date,
}create_page() 메서드를 사용하여 데이터를 업로드합니다. 페이지 콘텐츠로 이미지를 추가하고 싶다면 image_file_path 인자에 파일 경로를 전달하세요.
예시 1: 페이지만 생성
notion_client.create_page(page_data)예시 2: 페이지 생성 + 단일 이미지 업로드
notion_client.create_page(
    page_data,
    image_file_path="/path/to/your/result_graph.png"
)
예시 3: 페이지 생성 + 여러 이미지 업로드
image_file_path에 파일 경로 리스트를 전달하면 여러 이미지가 페이지에 순서대로 추가됩니다.
image_files = [
    "/path/to/confusion_matrix.png",
    "/path/to/roc_curve.png",
    "/path/to/precision_recall_curve.png"
]

notion_client.create_page(page_data, image_file_path=image_files)이 프로젝트는 MIT 라이선스를 따릅니다.