Record a timelapse and live preview image with sensor data from a Bosch BME280 temperature, humidity and air pressure sensor.
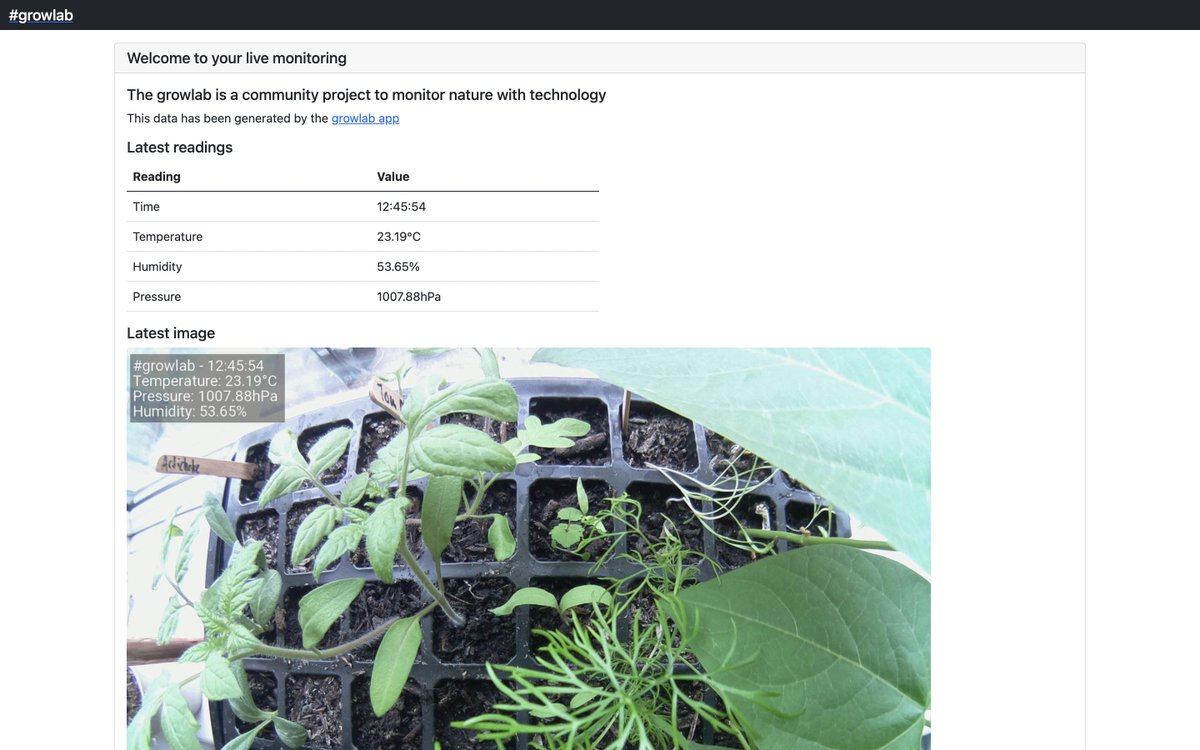
Example HTML output which can be synced to GitHub Pages, an S3 bucket, or served directly from the RPi using inlets
See also: app roadmap
- You'll need a Raspberry Pi Zero W or any other Raspberry Pi.
- A BME280 sensor connected to GND, VCC SDL and SCL.
- An RPi camera connected - any version
Using raspi-config
- Set your hostname such as
growpi - Enable i2c under interfacing options
- Change the password for the
piuser
Install git and tmux:
sudo apt update -qy && \
  sudo apt install -qy git tmux
Clone the repo:
git clone https://github.com/alexellis/growlab
cd growlab/app
Get the roboto font:
curl -sSL https://github.com/googlefonts/roboto/releases/download/v2.138/roboto-unhinted.zip -o roboto.zip
unzip roboto.zip -d roboto
Install apt packages:
sudo apt update -qy && \
  sudo apt install -qy python3 \
  python3-pip \
  libopenjp2-7 \
  libopenjp2-7-dev \
  libopenjp2-tools
The libopenjp2 package is for overlaying text on top of the images.
Install Python modules with pip3:
sudo pip3 install -r requirements.txtCapture a test image to determine if you need a horizontal or vertical flip or not:
# On the RPi
raspistill -o growlab.jpg

# From your PC:
scp pi@growlab.local:~/growlab.jpg Desktop/

# On a Mac:
open Desktop/growlab.jpg

# On a Linux desktop:
xdg-open Desktop/growlab.jpg
If needed, test again with -vf or -hf to flip the image.
Edit the config.json file if needed and update the flip settings, and width and height to match the file that you got from your test growlab.jpg image.
{
    "images": {
        "output_dir": "./images/",
        "encoding": "jpeg",
        "width": 2592,
        "height": 1944,
        "image_quality": 70,
        "preview_seconds": 1,
        "vertical_flip": false,
        "horizontal_flip": false,
        "interval_seconds": 600
    },
    "text": {
        "colour": {
            "red": 255,
            "green": 255,
            "blue": 255
        },
        "size": 48
    }
}
Test the code:
python3 app.pyConfigure GitHub pages and / or a custom domain using the CNAME approach
Set the folder for serving content to "docs"
Generate an SSH key:
cd growlab/app
mkdir -p .ssh

ssh-keygen -f `pwd`/.ssh/id_rsa
Remove the HTTPS git remote and add a SSH one, changing "alexellis" to your own name.
git remote rm origin
git remote add origin git@github.com:alexellis/growlab.git
Go to the repo settings and add the deploy key and check Allow write access
Now run the sample.sh bash script. Feel free to view its contents to see how it works
cd growlab/app

./sample.sh
You can also put this into a loop to run every 10 minutes:
while [ true ] ; do ./sample.sh && echo "waiting 10 minutes" && sleep 600 ; done Install the systemd service:
touch /etc/default/growlab
sudo cp growlab.service /etc/systemd/system
sudo systemctl enable growlab
sudo systemctl start growlab